You’re in the midst of a cycle workout and the instructor tells you to up the resistance for the next hill climb…
But to what resistance?
Luckily, you’re a prepared rider and read up on resistance levels before the class.
So rather than looking around to see what everyone else is doing, you’re confident in your decision and turn the resistance knob to the perfect spot to get the most out of that hill climb.
Why is resistance important?
During your cycling workout choosing the correct resistance level for each portion can be a determining factor for a successful ride.
Too much resistance can put an increased, and unnecessary, strain on your leg muscles.
Too little resistance can take away from the effort you’re putting into the ride and you won’t see the results.
It can also make your ride unsafe by causing your legs to be moving too freely to maintain control of your bike and keep you safely in the saddle.
By knowing what resistance level to use, you'll create the optimal cycling environment and see the impact of your training more clearly.
What resistance level should you use?
When it comes to choosing the right resistance level the most effective way is based on a combination of two things: measuring your effort and measuring your cadence.
 Your effort
You can feel the effects of different resistance levels on your body and that amount of effort can help you decide what resistance is right for you.
Follow your instructors lead for this by gauging how your body feels during each segment of the ride.
Say your instructor gives the direction to up your resistance so it feels like you’re trudging through heavy snow - a bit difficult and slow-going.
You then use your knowledge and experience of this feeling to determine how much resistance to add.
When using your effort to determine resistance, the most important part is to listen to your body.
If something feels too difficult – STOP.
It isn’t about keeping up with the instructor or other members, it’s about what makes you feel successful. Pushing yourself too hard could result in an unnecessary injury.
Your cadence
In a previous blog we spoke about what cadence is and gave some workouts on how to improve your cadence.
You can also use cadence to measure if your resistance level is correct for different segments of your workout.
Your instructor could also give instructions as to what cadence level you should be pedalling at.
*Remember that they could also give you this number as an RPM.
They might say that you’re aiming to maintain a cadence of 90-100 RPM.
Check your BODY BIKE App and take note of your RPM levels as you’re cycling and aim to maintain the level suggested by your instructor.
Again, this is your workout and you need to listen to your body and what feels comfortable.
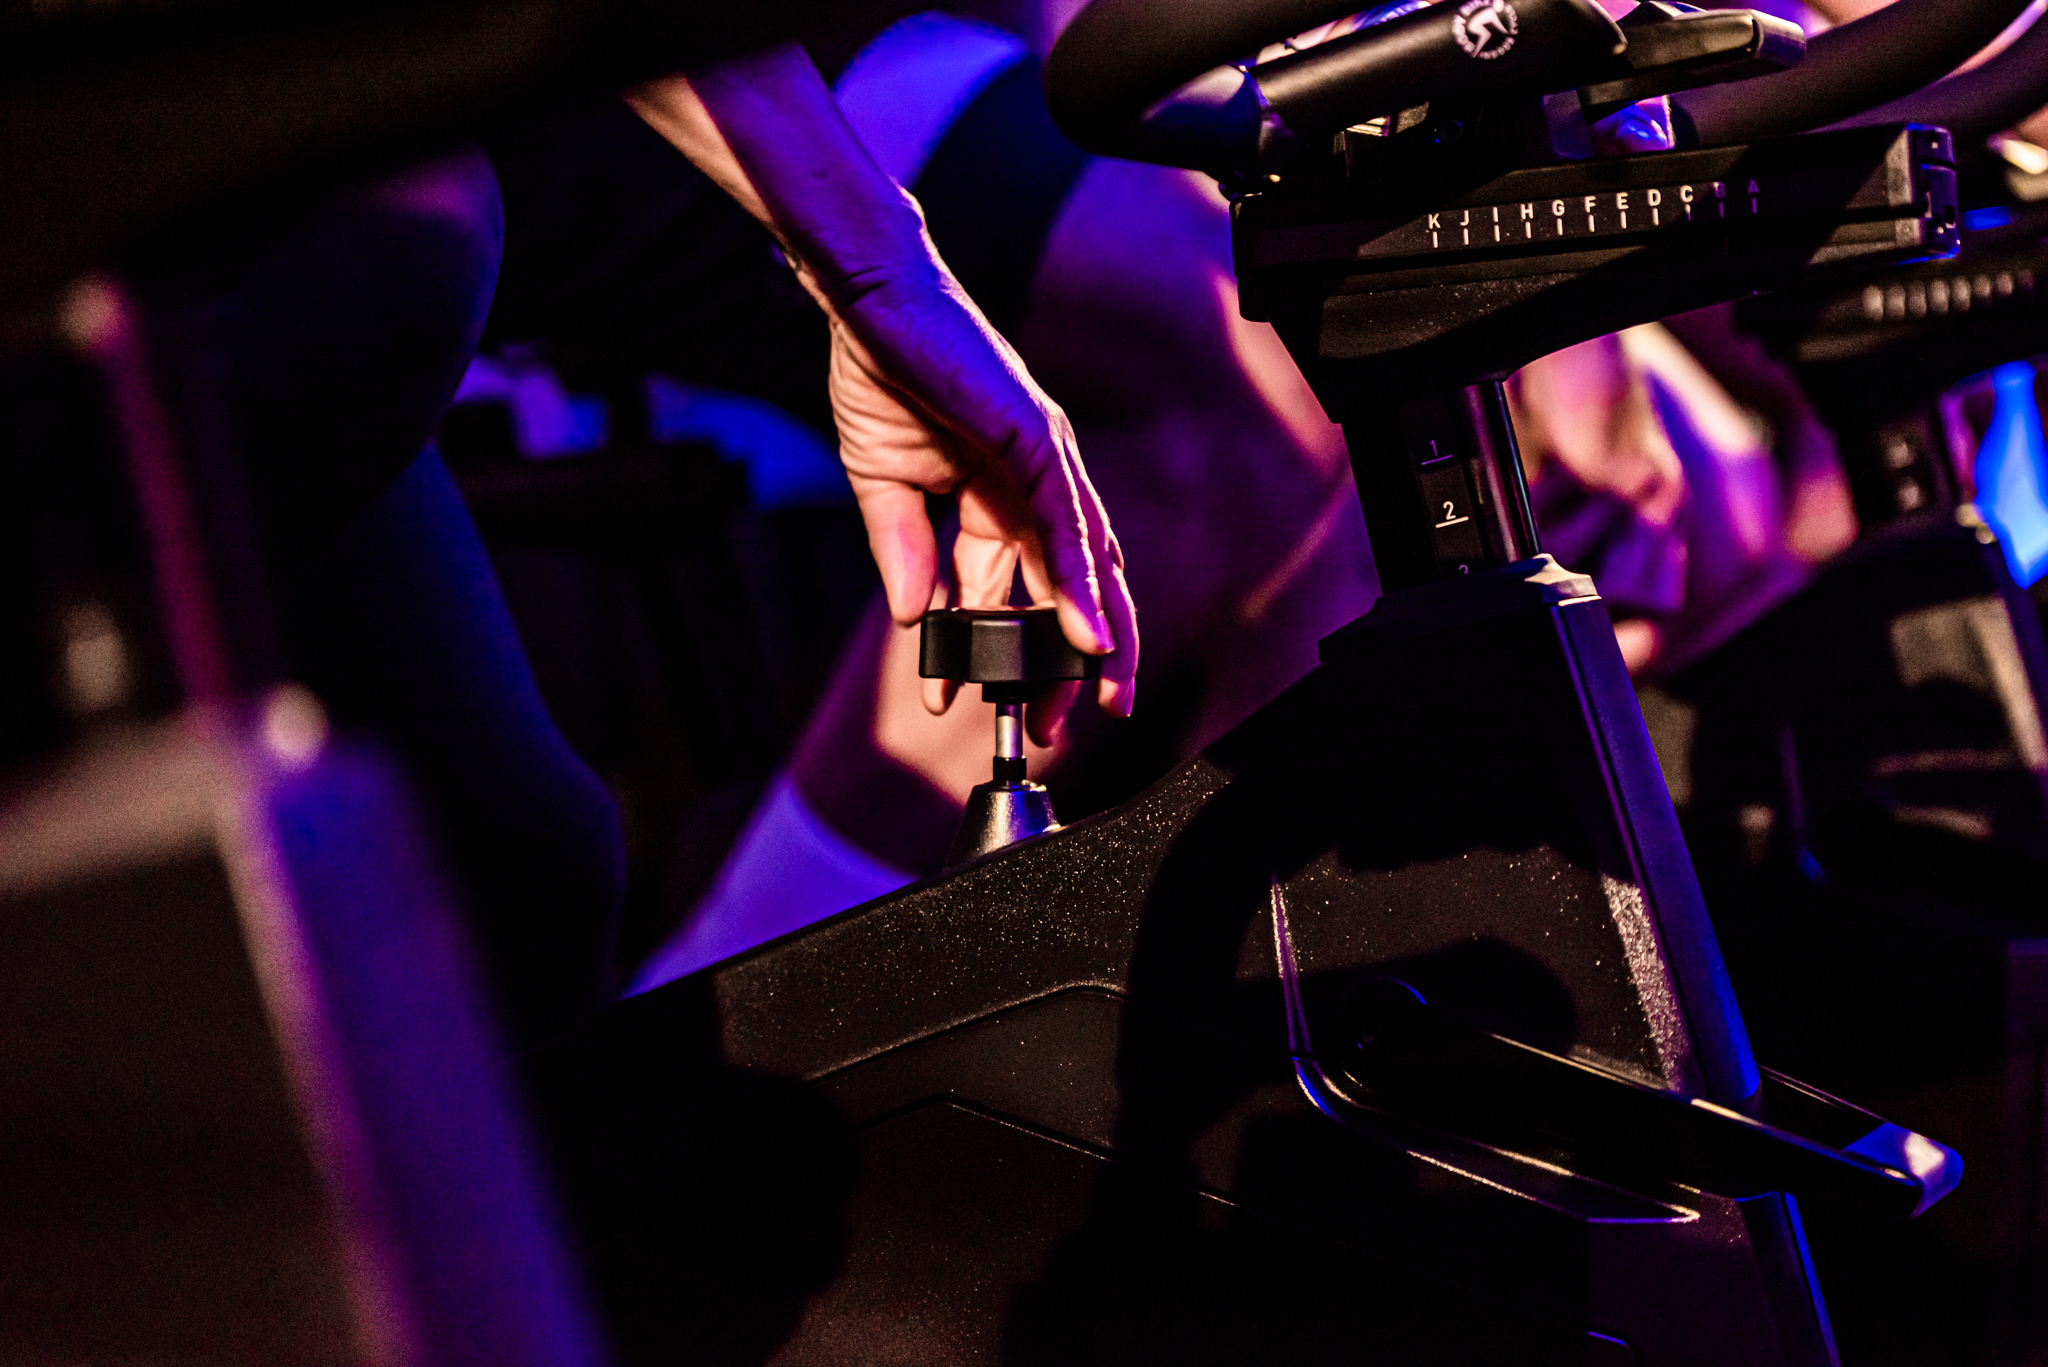
How do you adjust the resistance?
With your BODY BIKE it’s easy.
Each bike has an ungraduated resistance knob, which means there are no set levels of difficulty. You can adjust your resistance to the exact level for you.
A simple turn to the right increases your resistance and a turn back to the left decreases it.